


A Guide to Pneumatic Sprayer Cleaning & Maintenance
Clean-up doesn't have to be a long drawn-out process either, especially if you take good care of your tools in between uses. Items like paint spray guns might seem like a hassle to keep clean and ready-to-use, but with a few tips and tricks, it can be very simple.
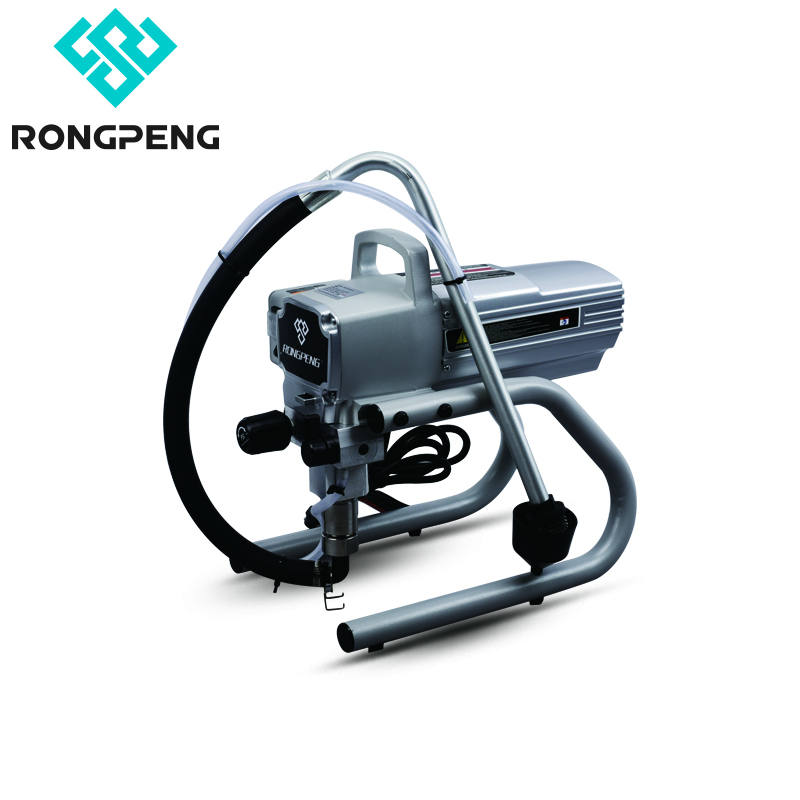
How To Clean a Pneumatic Sprayer
It's important to clean your Pneumatic Sprayer immediately following use. This helps keep it functioning like new and prevents you from having to run out and buy a new one for every project. Even allowing the paint to sit for a few hours is not recommended, as at that point even soaking the gun won't remove very much residue.
Most home mechanics won't have access to spray gun wash stations like an auto body shop would, but it's easy to achieve a thorough clean job without one thanks to the various paint gun cleaning products available. From paint gun cleaning kits to basic Pneumatic Sprayer washers, cleaning has never been easier.
When cleaning your Pneumatic Sprayer, wearing gloves is recommended, as this will keep your hands protected from chemical thinners and hardeners.
Steps 1-6: Removing Paint Residue
1. Detach the air regulator from the Pneumatic Sprayer. Before doing this, make sure the air compressor is also detached.
2.Remove ALL of the paint from your Pneumatic Sprayer. If you've added a hardener to your paint, DO NOT return the paint to its original paint can, as the hardener will also set the remaining paint in the can as well. If you were merely applying a base-coat with no added hardener, feel free to empty that back into its can for another use.
3.Wipe the container and its lip with paper towels to remove as much leftover liquid as possible. This will make it easier to deep-clean with the thinner of your choice.
4.Pour a small amount of your selected thinner into the paint gun's cup, filling the gun's throat as well. Put the cap back on the cup and shake the gun gently but thoroughly to ensure that the thinner coats the inner surfaces and also helps dissolve excess residue.
5.Run the thinner through the gun's mechanisms by emptying the contents of the cup into a waste container. Point the nozzle and squeeze the trigger as you would during paint application.
6.Dry the gun with paper towels, and repeat steps 4-5 at least once. 3-4 cycles is recommended for the best deep-cleaning.
Steps 7-13 : Pneumatic Sprayer Cleaning
Now it's time to clean the actual gun to ensure that it will be operable for your next project. Any sticky paint residue will make it harder to use and isn't good to leave sitting in the mechanisms. The small Pneumatic Sprayer parts that you remove will need to be individually cleaned in thinner as well. Have a small container of the thinner sitting by so that you can place them in it as you take them off.
7. Remove the clean paint cup from the gun. If you would like, you can soak it in thinner again to ensure all residue is completely removed.
8. Remove the fluid adjustment knob from the sprayer (generally the center knob located on the rear of the gun, but may vary according to model) and then remove the now exposed spring. Press on the trigger, and gently pull the fluid needle out. This helps prevent the needle from getting bent or damaged during the cleaning process.
9. Remove the air cap on the front of the pneumatic sprayer (turning it counter clockwise). Now you can remove the fluid nozzle and both pieces should be placed in the thinner bath with other pieces so that all the paint is removed.
10.Rinse the entire gun first in thinner, and then in water. If the small pieces that have been soaking in the thinner need an extra scrub, go ahead and do that now. Make sure you also clean paint from any gaskets and hard-to-reach areas, using Q-tips or an old toothbrush. This part of the process can seem long and drawn-out, but a thorough cleaning now will ensure your paint sprayer is fully ready to be used the next time.
11.Dry all exposed parts of the paint gun with paper towel after rinsing, and then go over the entire gun with compressed air, making sure you're drying all the holes and moving parts to remove any excess water. Double check your work and dry the gun completely as any residual water drops can be blown back into the mechanisms of the gun.
12.Rinse and dry all of the individual parts of the sprayer you have removed and reassemble your paint sprayer. This task is a lot easier if you lubricate any threads and moving parts as you go.
13.Wipe the sprayer clean to remove any excess oil, and check to make sure that it will function properly the next time you go to use it.
Your pneumatic paint sprayer is now completely clean and ready to store.
 video
video https://rongpeng.store